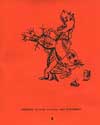
Happy Faces
by Marie
(Assisted by PaPa)
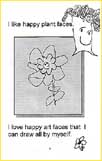
I like happy faces. I like happy people faces.

I like happy plant faces. I love happy art faces that I can draw all by myself.
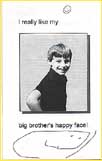
I really like my big brother's happy face!
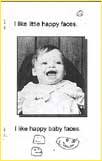
I like little happy faces. I like happy baby faces.
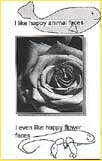
I like happy animal faces. I even like happy flower faces.
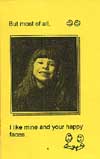
But most of all, I like mine and your happy faces.
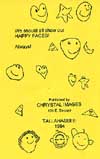
We should all show our HAPPY FACES! Always!
THE END
Write a Book
By Frank Howard
October 26, 1995
We are constantly being reminded to read to our pre-school children. Many, including this writer, have even espoused the value of reading to your pre-natal infant. The question concerning which of the many books available does one accept as those to read to one's own child is a nagging and worrisome question. But you make those decisions many times and one day you realize you have read many books to your three year old.
You notice that your youngster has favorite books - ones that he or she can "read" along ahead of you. Sometimes the whole story is repeated verbatim. It is time to find out if the child understands how the words come together to form a story. Explain that someone must think up the story and then write it down. And, also, that sometimes stories are written about things that really happened.
Perhaps the place to start your explanation is with such a true story. Tell them a story about some event they remember. Make it short and write it down. Ask someone else to read it to them. Ask them to tell you such a story and repeat the process. If they are ready to begin this process they will certainly express it to you.
Back in the days of my own children, "printing" a book for a child meant typing on a typewriter and then folding and stapling the pages, no easy task, not pretty, and less than fulfilling. Most certainly so with the only two or three copies one got this way. Today, with copy machines in stores around each corner (even in the grocery store!), it is a much easier task. The size of your change pocket may be your only limitation. Especially if you have a computer with graphics capabilities.
"Would you like to write a small book your little sister can read?" Of course he would but he can't read either (yet). "You tell me the story and I will write it down for you!" This approach has worked every time. There is usually some squabbling over the words when it is read back. "But that isn't a word one can write down." Okay, then can you come up with another word? It is important that the child's own words are the only ones used. If help is needed with the grammar, then help. But in the end, have the little story as near as possible to what was said originally. This is important.
Next, ask the child for some drawings to illustrate the story. Don't be afraid to help the child with the drawings. Remember, clipart is available from many sources (perhaps on the very computer you are working on). While the drawing itself is an important learning opportunity, don't let it hold you back from your first purpose. Remember, even photos can be used for this project.
Type the story, preferably using type twice the size of the finished print expected and using a full 8 1/2 by 11 inch page as your layout page. This will be reduced by the copy store to fit one side of a folded sheet of paper (About 66% of the size you are working with). The next important part is to place the illustrations on the pages. Use a good glue stick and cut away any extraneous pencil marks from each art piece. Then stick the art pieces in place.
Do this on one side of the sheet only. Paper clip the back of each page to it's front, as page 2 is clipped to the back of page 1, etc.
Now comes the hard part; matching up the pages to print side by side so that the sheets, when folded and stapled, will follow in correct page number sequence. For instance, if there are 8 pages, page 1 and 8 are attached as they will form the backs of pages 2 and 7. The sheet for pages 3 and 6 will then form the back of the sheet that is to be pages 4 and 5. In this instance you now have two sheets of paper taped together ready to be reduced to fit on one sheet by your copy shop. The matching sheets can be taped together giving a single sheet 11 by 17 which is only one sheet copied (two booklet pages!) when it is reduced to 8 1/2 by 11" (instead of the two copies you would pay for the other way).
We are now ready for a cover. Paste up your cover the same way remembering it has an inside back and front also. The inside could be used as the first and last page of the book. A better idea may be to use illustrations only for the inside covers.
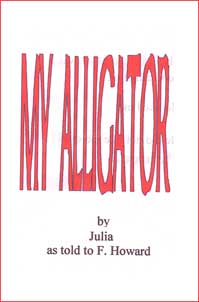
By all means let the child pick their best to illustrate the front cover. Use really large type fonts for both the title and the author's name! On the back cover, perhaps a very important step, glue stick a good photo of your child (school picture, etc.) along with the usual publication data that is normal for books. It is a must the your child be recognized for their efforts. Also it will help you in years to come when you open your photo album to the page on which you keep your copy of their book.
Now, its off to your favorite copy shop. If you're not sure you have it all aligned correctly, go to one of the high volume shops as they are accustomed to doing these booklets and can either correct it for you or give you advice prior to copying, You may wish to get a single copy of each page and fold it yourself as a check. Make sure you have the cover run on cardstock and the interior run on quality paper such as laser paper. The child can go with you and, not only learn from the process, but can pick the "Yuk Burple" or the "Super Iridescent Hot Pink" color cardstock for the cover! After all, it is their book!
Strain your pocket book a little. Don't order 4 copies! He or she has more than one friend and you know Grandma wants a copy, too. So does his teacher and so does ad infinitum... So spring for enough copies for his or her classmates and a few others. 35 copies, unless their class is just too big!, should do it. If you can, let the copy shop fold and staple them as the work involved in that task may make you not want to do this again.
The last such book with this writer's help was for a 6 year old first grader who (since it was his third book!) wanted to shoot all the photos to be used, right by himself. He also wrote much of the wording by using the hunt and peck method of typing on the computer (and yelling "Mommy, how do you spell..."). We polished up both the typing and the wording together and went to print (this book is a good example of a book idea; his trip to the Naval Air Museum in Pensacola was his story). That one was his first book with a color cover! He has already started another book.
A 5 year old wants her second book to be her "poems". So far, there is only one poem, but she is determined (and it is a good poem)! She did take the photos and do the drawings for her first book, entitled "Happy Faces". You may be very pleasantly surprised at the learning level your child exhibits as you work together on such a project. Just don't overdo it on your first try as a 4 page book completed is better than an 18 page incomplete package of complete frustration.
Or, try it, you'll love it!
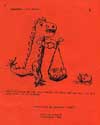
Megastol
by Andrew
(Assisted by PaPa)
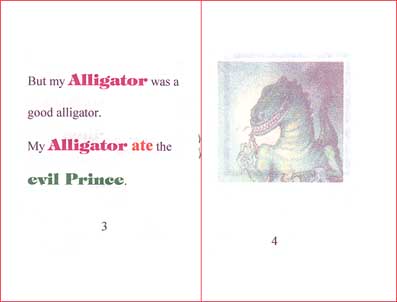
Megastol is a giant robot that looks like a dinosaur.
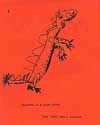
Megastol has a long tail with barbs like a stegosaurus. He fights against all evil.

Megastol is the terror that stomps in the night! Evil-doers run from him.
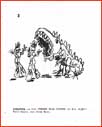
The evil-robot came to Tallahassee to tear down the big mall. He was tromping fast down the street toward the mall. The people were running from him. There was confusion.
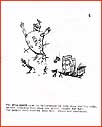
Someone yelled "we need Megastol!" A policeman called for Megastol. The giant robot came running quickly to the rescue.
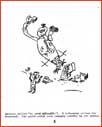
Megastol quickly destroys the evil-robot.
Megastol then helps with cleaning up the mess before he goes off to wait for the next time he is needed.
THE END